Astronomical laboratory course: observations
Observations in the bachelor laboratory course: Every lab group usually has to complete seven observations. Since the fundamentals of the observations will be discussed in the seminar, the participants usually will start with a couple of observations using the eyepiece. It crucially depend on the observational conditions, if a specific observations can be carried out. During each observation a observational protocol needs to be filled out. A form can be downloaded from the following link: observational protocol. A list with possible observational objects needs to be prepared in advance! A form can be found under the following link: object-list (TeX file).
Advice: The Observations O3 and C3 as well as O4 and C4 have the same topic, just the observation methods are different. In other words, only either O3 or C3 can be chosen. The same selection holds true for O4 and C4.
Observations with the eyepiece
O1: Astronomy like Kepler
Aim: The aim is to become acquainted with the telescopes, the local circumstances, the coordinate systems, and popular catalogs of astronomical objects. Moreover, astronomical data shall be acquired by means of simple tools.
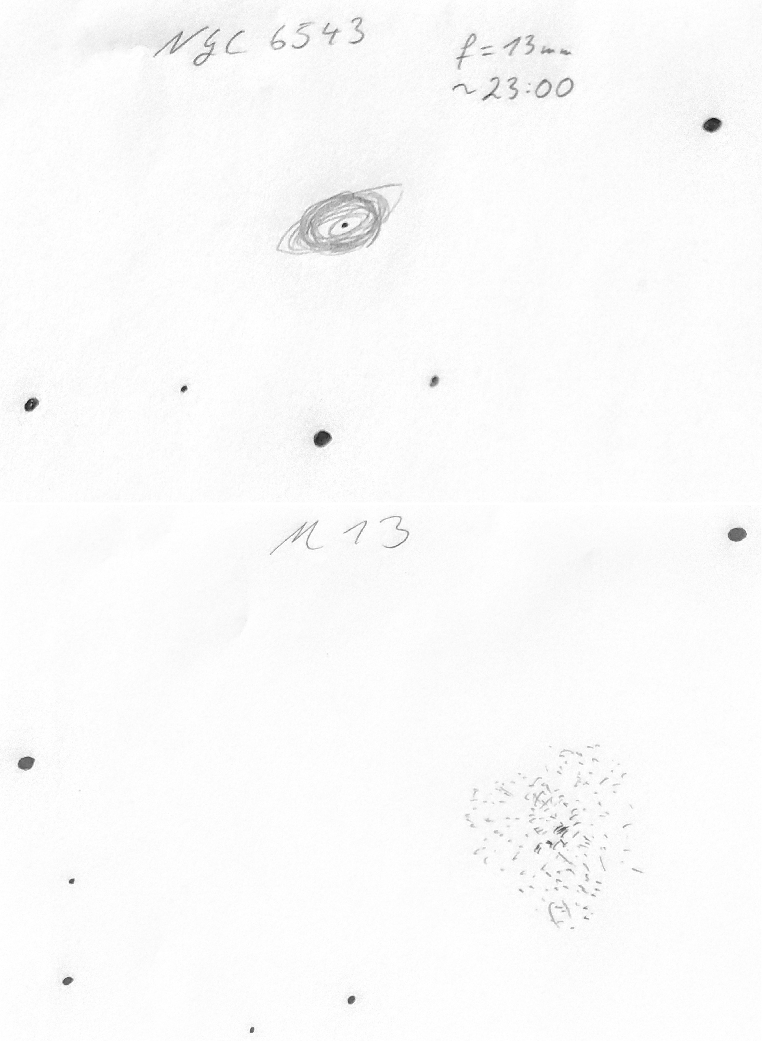
Method: Observations of the Moon, the planets, and other extended objects like nebula, star cluster, or galaxies with the eyepieces. Each participant shall draw one illustration of a (different) astronomical object. Please bring paper & pencil.
Instructions:
- Make a list with possible observational objects (with at least one object from each of the above categories)
- Prepare the observations
- Set the clock of the telescope computer
- Choose different eyepieces for the observation
- Write in a protocol what you can see
- Create a drawing of an observed object of your choice
Report:
- Describe the course of the observation
- Describe the visible properties of the observed objects
- Emphasize the findings (e.g. the visible differences by use of different eyepieces)
- Add an observational protocol and one drawing per participant
O2: Binary star sequence
Aim: Characterize the observing conditions by observing a binary star sequence.
Method: By observing (visual) binary stars, the resolution of the telescope depending on the atmospheric conditions can be determined.
Instructions: Prepare a list of suitable binary stars, taking the observing conditions into account (i.e. latitude). Sources to find binary lists: http://www.stophi.de/doppelstern.htm, http://users.compaqnet.be/doublestars/, and http://astroclub.tau.ac.il/ephem/VisualDoubleStars/ (the first one is in German). Observe them with the eyepiece in decreasing angular distance and write down their resolvability.
Report: The report shall explain the experiment and describe how its work. The basics of binary stars (physical/visual) and resolvability (Dawes' limit) shall be explained. Furthermore, the results of the experiment shall be discussed in that context. Additionally, the results shall be compared to literature references. Finally, possible errors and their reasons shall be discussed.
Comment: The experiment can be repeated with different eyepieces.
O3: Lunar craters (eyepiece)
Aim: The aim of this experiment is to identify at least three lunar craters and to calculate their size.
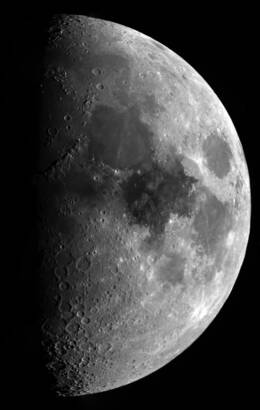
Method: Due to the Earth's rotation the Moon and all celestial objects wander across the night sky from east to west. This movement can be used to estimate the diameter of lunar craters. For this purpose, the time a crater needs to pass by the eyepiece's reticle shall be recorded and evaluated. To calculate a crater's diameter the current distance between the observer and the crater must be known. All needed values can be taken from programs like Stellarium. Prior to the observation a list of suitable lunar craters is to be prepared. Note that the selected craters must be visible at the observing time. Use e.g. the lunar calender Lunar Calender to see which part of the Moon is visible at a given day. To identify craters, use e.g. the interactive lunar map.
Instructions:
- Start the telescope
- Find the desired lunar crater
- Switch off the guiding
- Make multiple measurements of the passing time (to improve the accuracy)
- Calculate the crater's diameter
Report: Write a report for this experiment that describes the observation and compares the results with literature values. Furthermore, the accuracy of this method shall be discussed in detail along with all possible sources of errors.
O4: Jupiter and its moons (eyepiece)
Aim: Observe and identify the big moons of Jupiter.
Method: The four big moons of Jupiter can easily be observed by eye through the telescope. Changes in their position can be noticed in short time intervals.
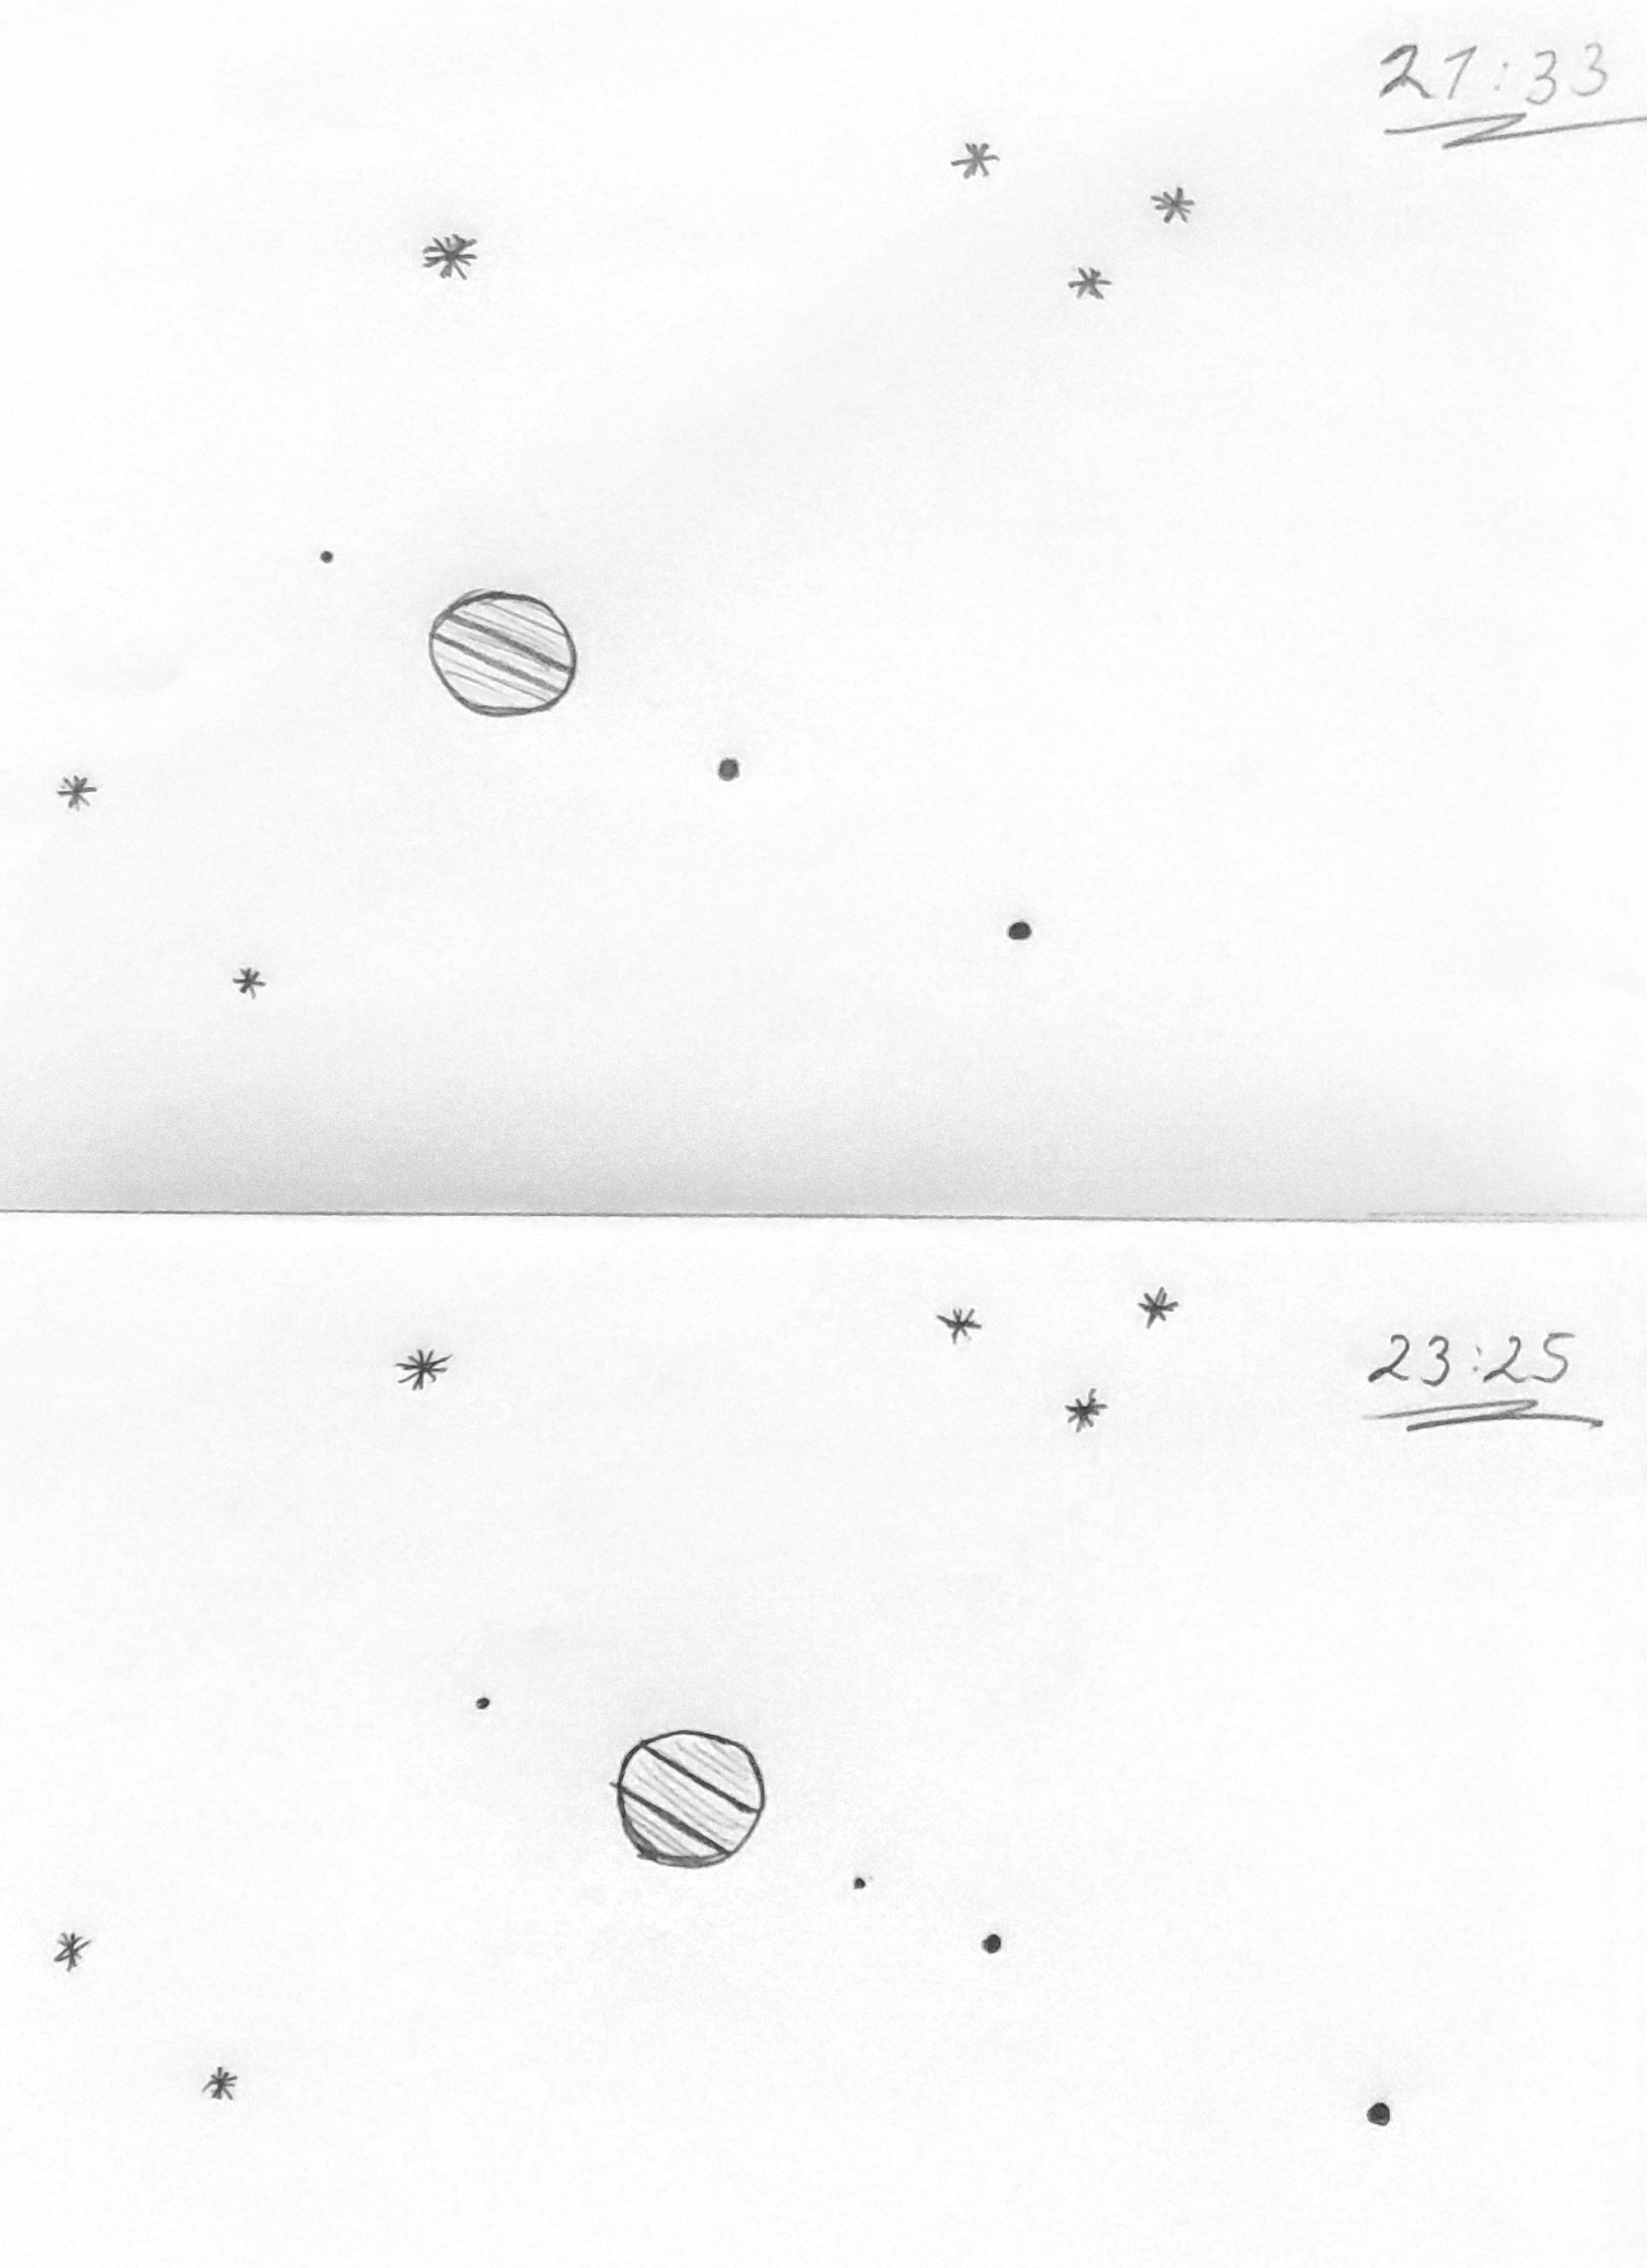
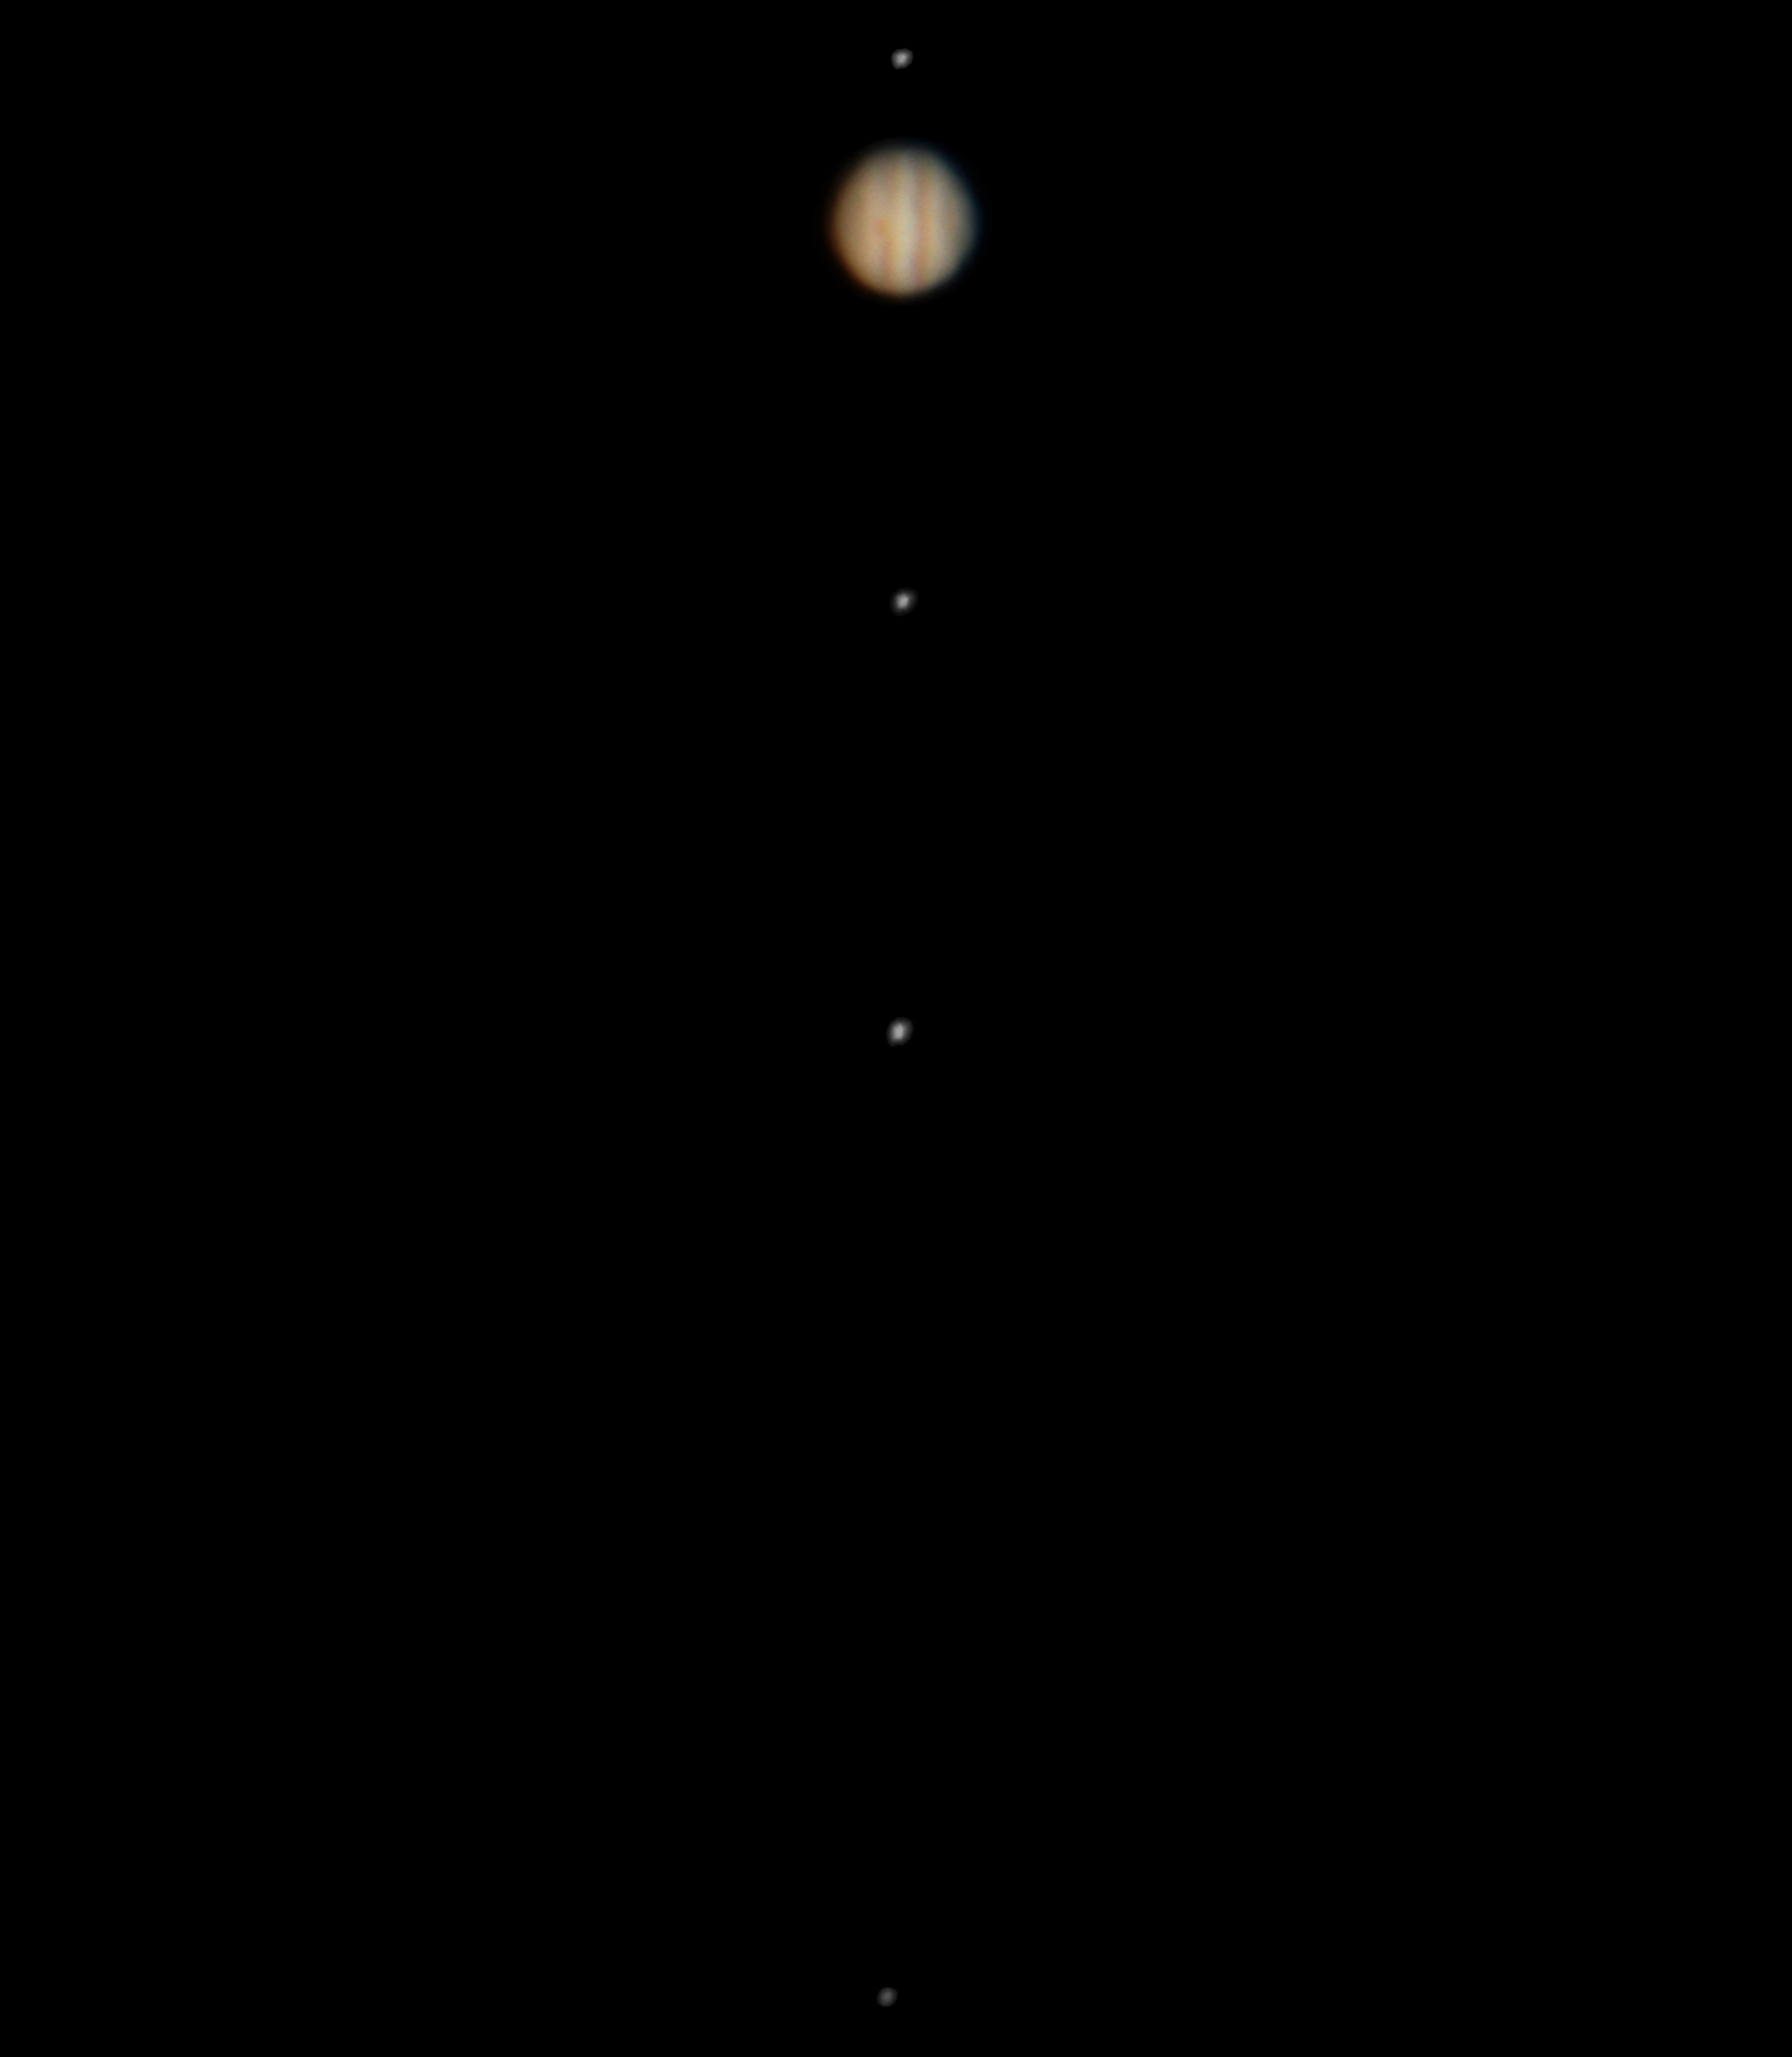
Instructions: Point the telescope towards Jupiter that can be easily found during winter and spring. The Galilean moons (Galileo Galilei discovered them around 1610) are easily seen. Some are larger than the Earth's moon and even larger than Mercury. Identify these four moons and document the run of the moons by means of multiple observations. Besides the normal observation protocol, create drawings of the constellation to identify the moons later. Particular attention shall be paid to temporal changes in the moons' positions. If the weather conditions allow a good view on Jupiter, draw visible surface structures of the planet, too.
In case Jupiter is not observable, alternatively the Saturn (Lord of the Rings) and its moons can be observed.
Report: The report shall document the own observations. The observed movements of the moon should be compared with theoretical predictions (e.g. with Stellarium). An interesting question is, e.g., which moon exhibits the largest change in position. As part of that, identify the moons and distinguish them from background stars.
Note: If only one observation could be performed, it can be repeated a few days later. The current positions of the moons of Jupiter can e.g. be seen in this image. A more detailed analysis can be performed with the help of Stellarium.
Experiments with the camera
C1: Deep Sky Imaging
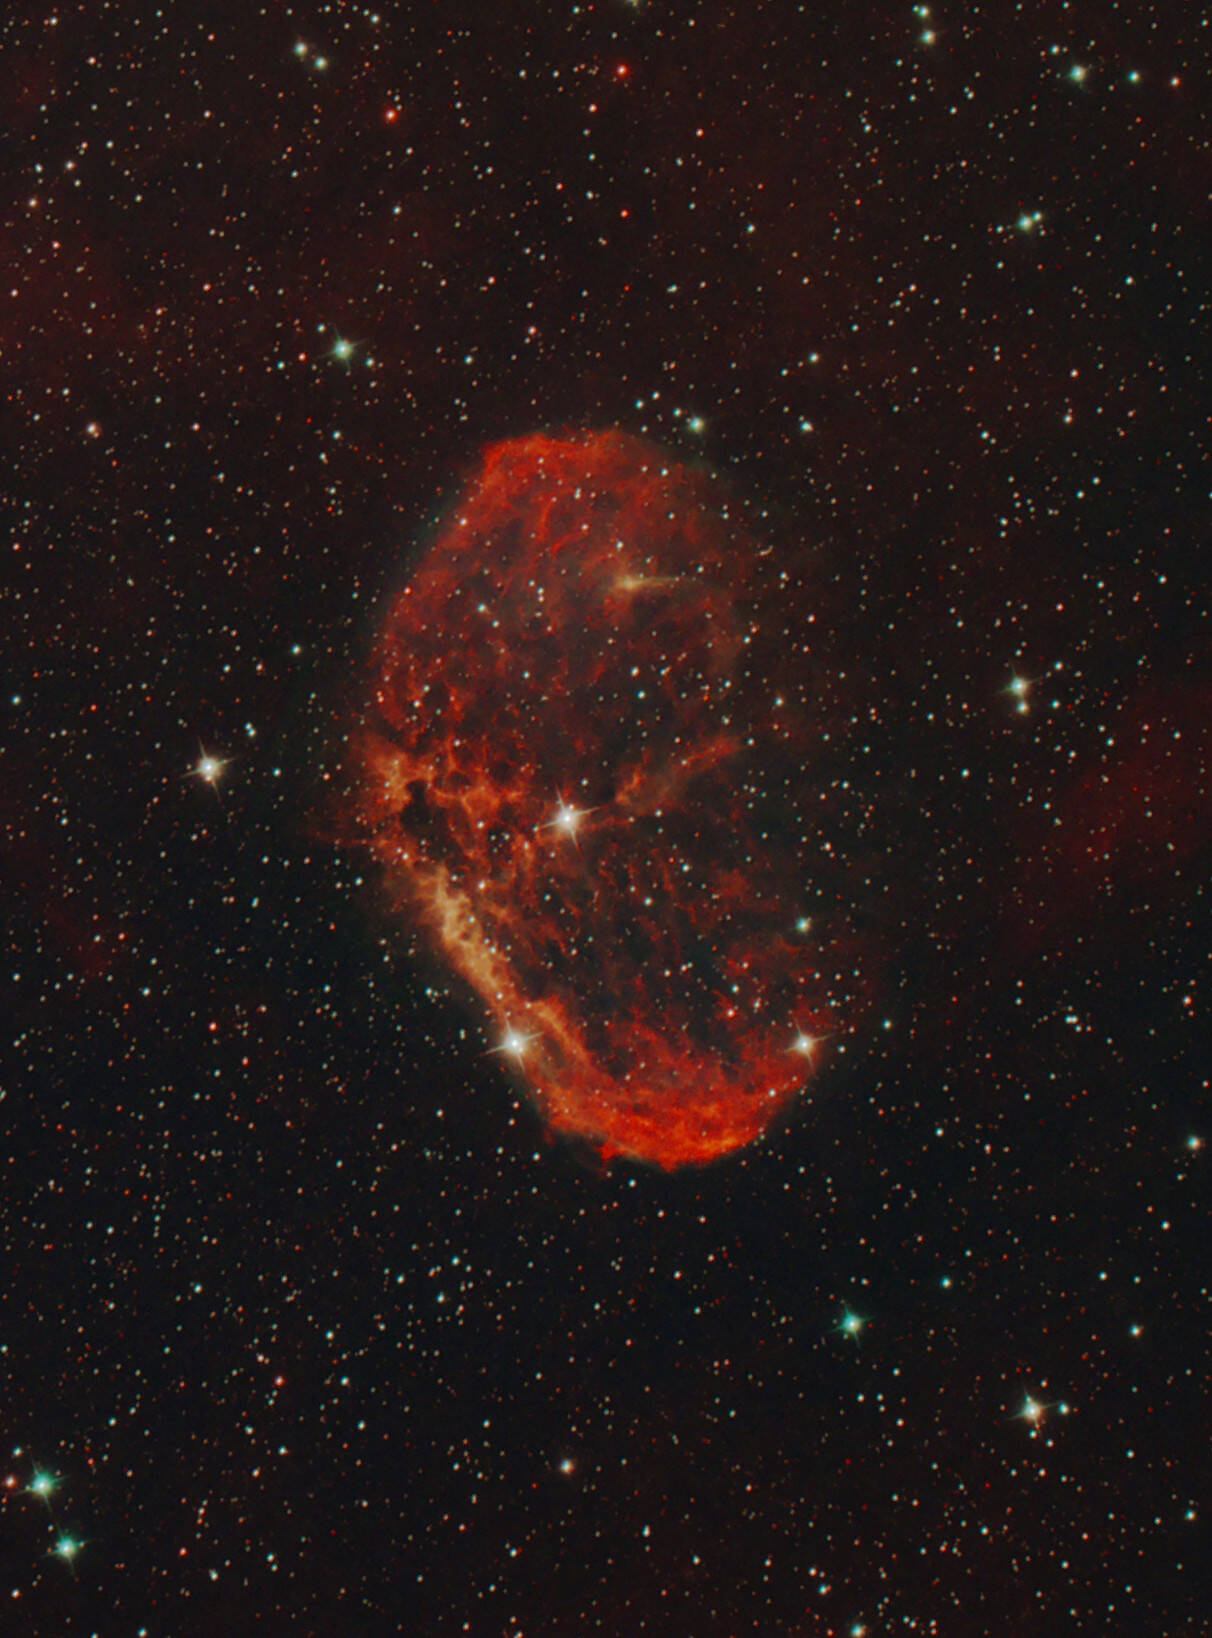
Aim: Images of an deep sky object shall be taken in different filters (R, G, B, IR, H_alpha, …) with help of the CMOS camera (QHY-600). Afterwards they shall be calibrated and qualitatively interpreted at the computer.
Method: Observe with the QHY-600M. Take also all necessary correction exposures. The data reduction follows and can be done by use of our scripts or with software chosen by the students.
Instructions:
At the telescope:
- Install the CMOS camera with filter wheel at the telescope
- Cool and focus the camera (e.g. focus at a globular cluster)
- Take images of the selected object
- Take calibration exposures (dark frames, flat fields, …)
Data reduction at the computer:
- Extract the useful data (image of the object)
- Correct the images by means of the correction exposures
- Add up the single exposures
- (see Astro photography)
Report: The report shall include both a description of the observations at the telescope and the data reduction at the computer. The basics of CCD technology and the required correction exposures shall be described. The final images shall be qualitatively discussed with respect to possible physical processes and phenomena (“What can be seen there?”).
C2: Limb darkening of the Sun
Security advice: This experiment is not performed with the OST. NEVER point the OST to the Sun! This can permanently damage the OST and the instruments. Observations of the Sun can and may only be performed with intact sun filters, which are only available for our mobile telescopes. In any case, an instructor needs to be present before the telescope is pointed to the Sun.
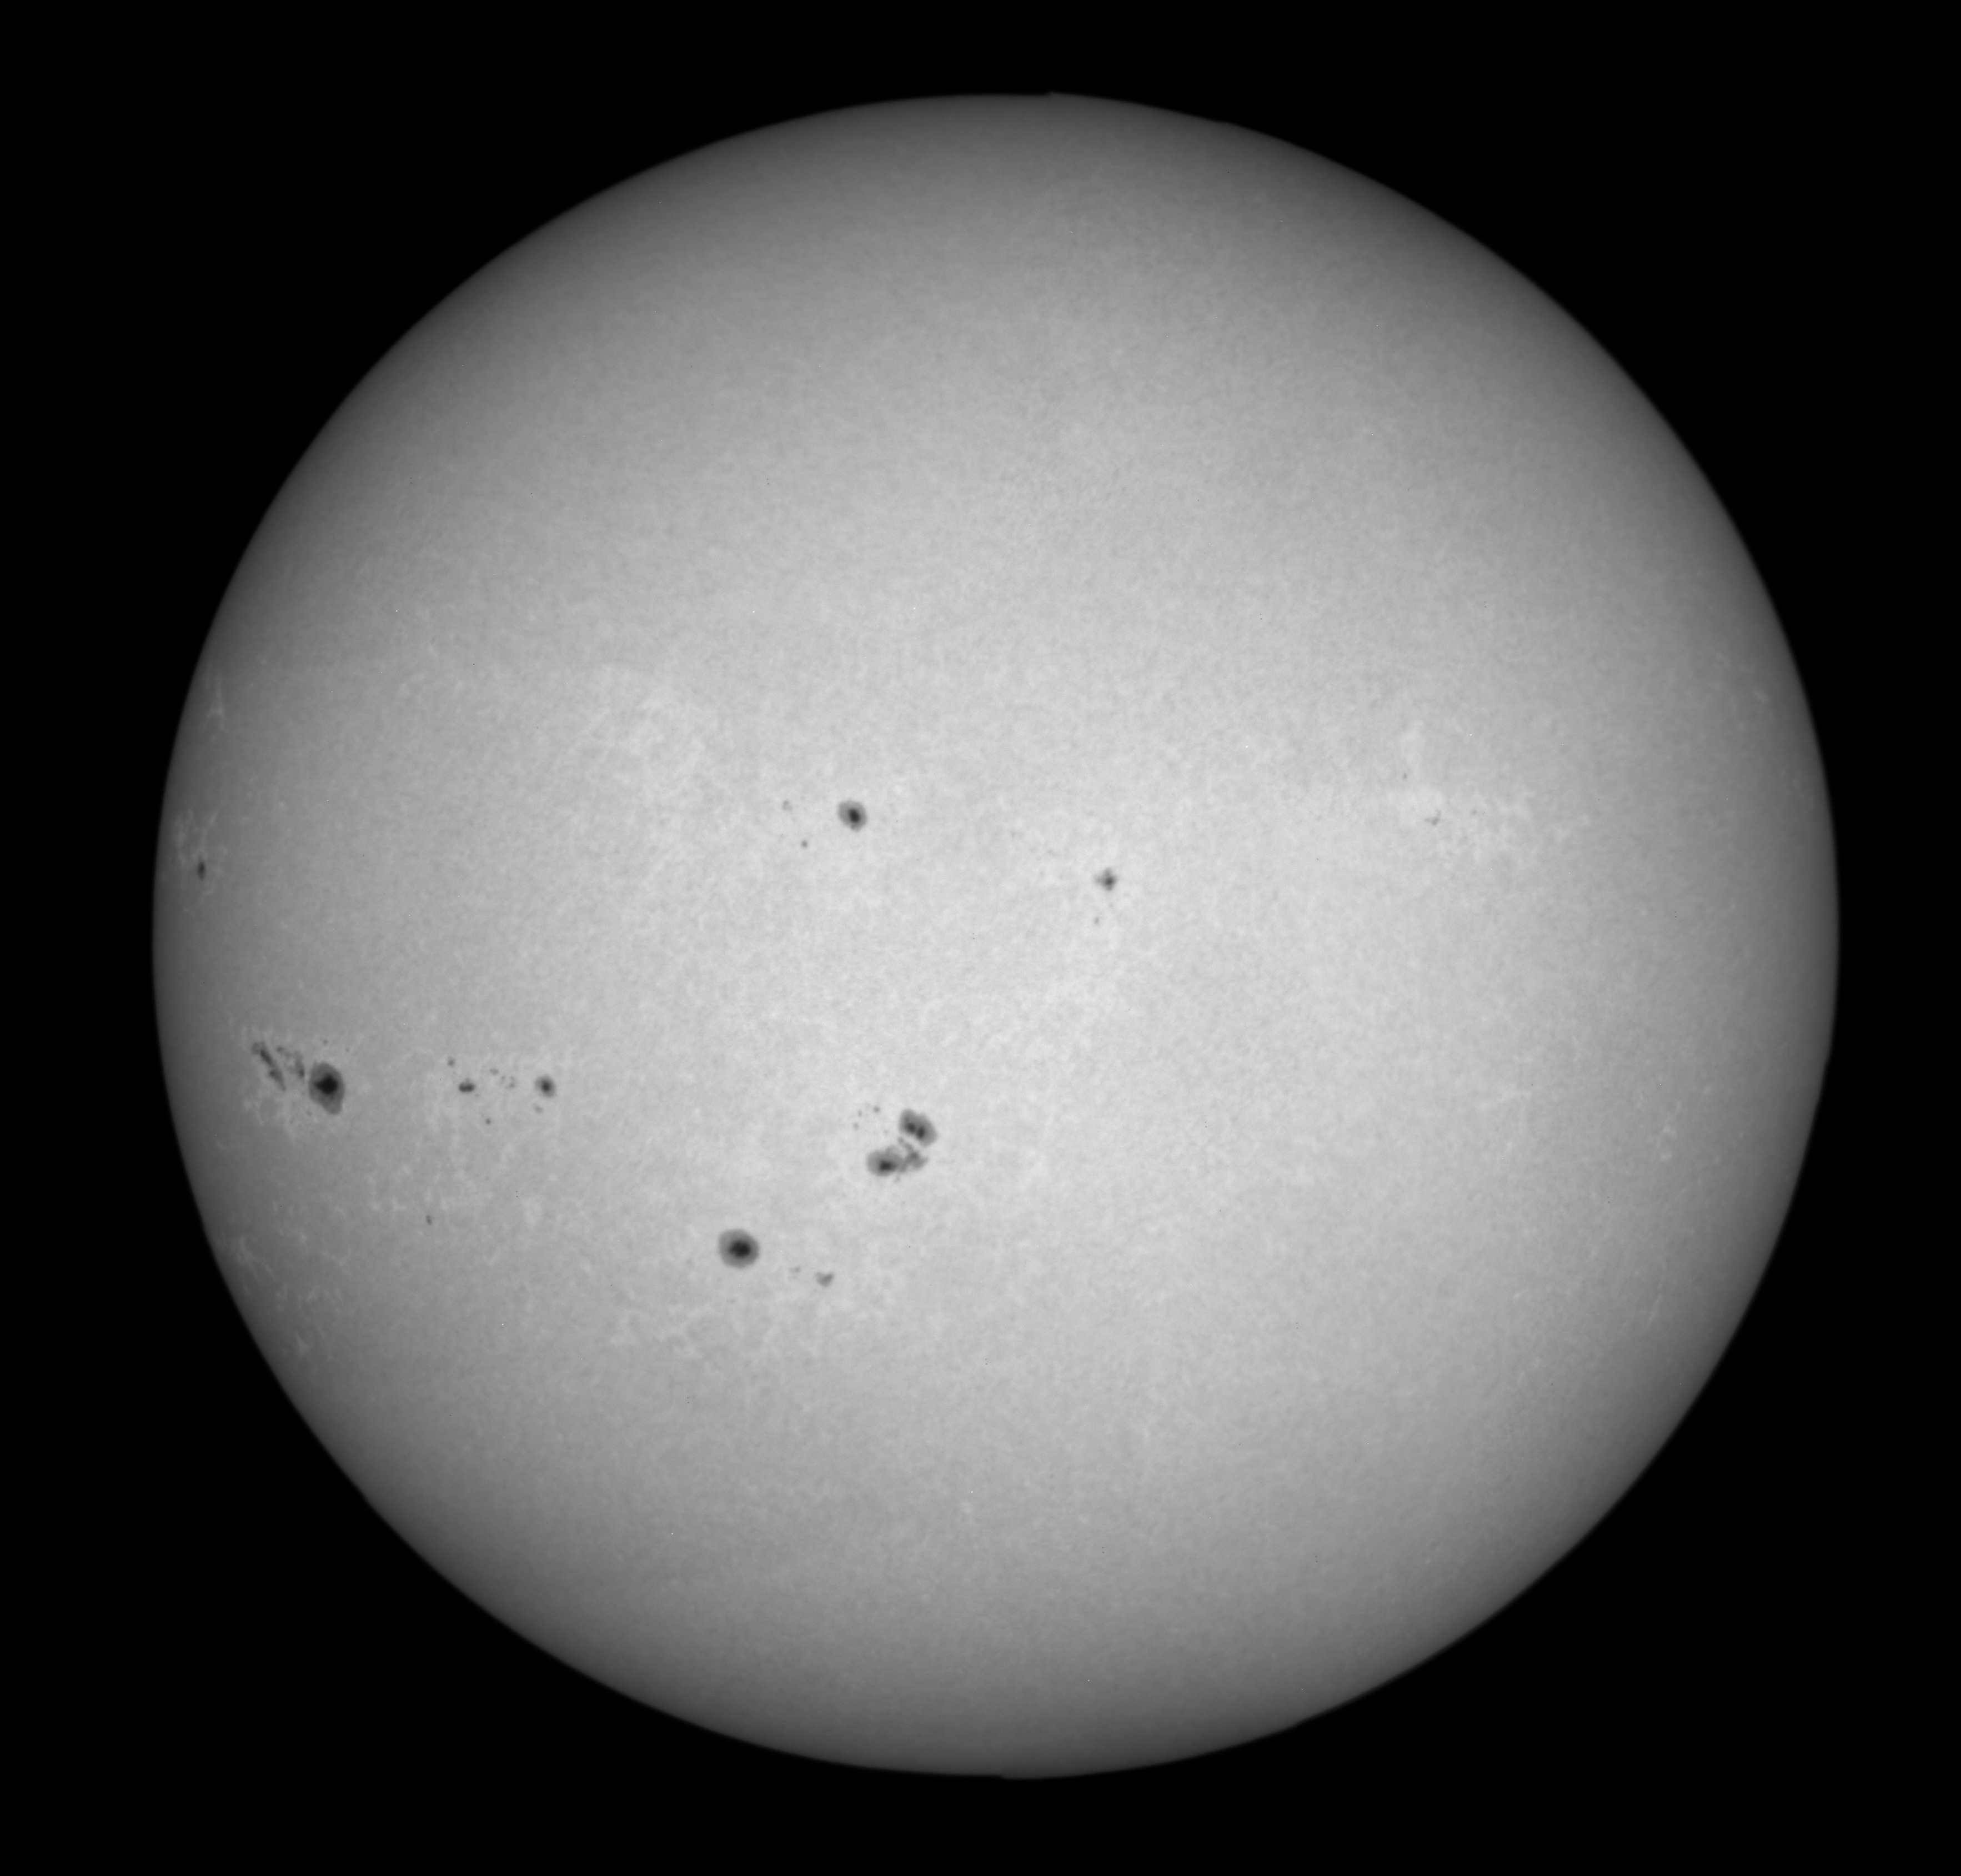
Aim: Create a radial brightness profile of the Sun. Use this to verify the limb darkening of the Sun that is an indication of the structure of the Sun (a shining ball of gas). Additionally, the handling of the mobile telescope shall be learned.
Methode: Observe the Sun with our 11in telescope. Use a sun filter and a camera (DSLR or STF-8300).
Instructions:
- Setup the mobile telescope
- Place the sun filter on the telescope (first check if it's intact, i.e. no holes)
- Connect the CCD camera to the telescope and the computer
- Measure the normal celestial brightness (the background) to estimate the required exposure time and, if needed, add more filters
- Point the telescope towards the Sun, starting with the limb to check the exposure time once more
- Point the telescope to the central part of the sun's disk (try to have both the rim and the central part in one image, otherwise take a series of exposures)
- Check the images at the computer, take more exposures if needed
- Extract a radial profile from the raw data and obtain a graphical representation
Report: The report shall contain a (short) description of the phenomenon of limb darkening, a summary of the experimental design and the execution of the observation, and a discussion of the obtained intensity profile. Helpful for the interpretation of the intensity profile might be the following theoretical curve:
\begin{equation*} I(\mu) = \frac{3}{5}\left(\mu+\frac{2}{3}\right)\qquad \end{equation*}
with
\begin{equation*} \qquad\mu=\cos\theta \qquad\textrm{ and }\qquad r/R_\odot = \sin\theta \end{equation*}
This equation is e.g. derived in the report of Lehmann & Ludwig (in German) or in M.C. Ramadevi: Limb Darkening. See also Hestroffer & Magnan (1998) for a polynomial fit. Note, that your images do not necessarily cover the complete part between the rim and the center, while the theoretical curve does.
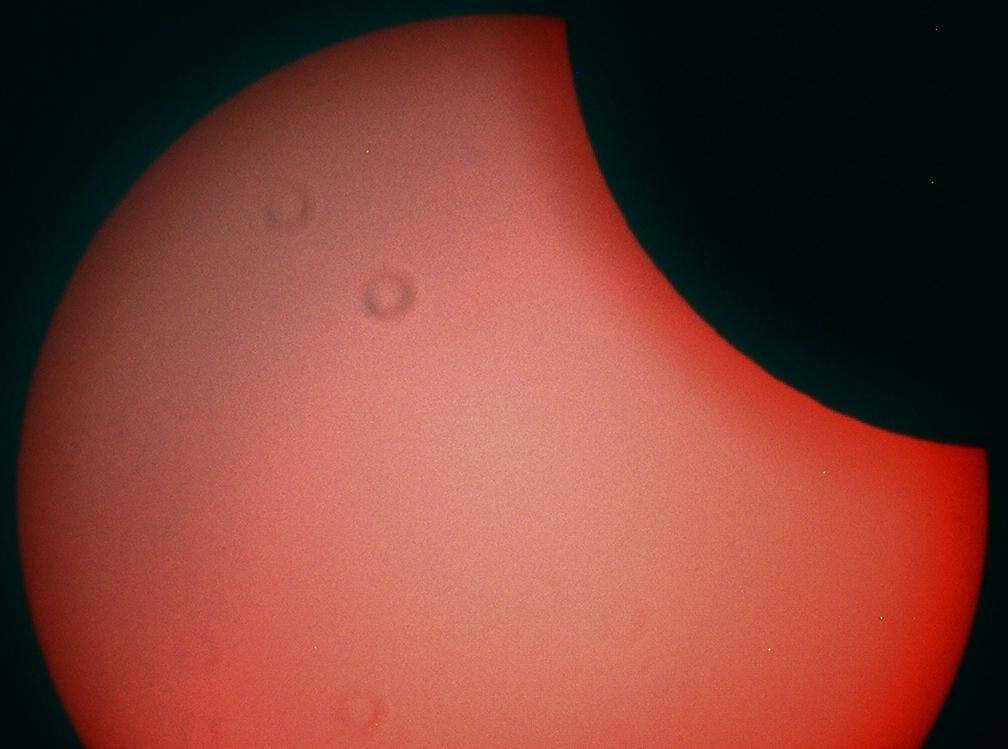
Please note: If the whole disk of the Sun is covered by the obtained images, a mosaic can be created (see right, or on the smartphone below). A high quality mosaic might qualify for the gallery.
C3: Lunar craters (CCD camera)
Aim: The aim of this observation is to identify at least three lunar craters and to determine their size (diameter).
Method: Observe a part of the Moon with one of our cameras (DSLR or STF-8300). Afterwards, with help of the images and the known specifications of the camera, calculate the diameter of the crater(s). As part of the analysis the current distance between observer and the Moon (the crater, to be exact) must be known for the observation time. All required values can be taken from tools like Stellarium.
As preparation to this observation, obtain a list of observable lunar craters (i.e. note, they need to be visible at the selected observational time). See the lunar calender for help. To identify lunar craters, e.g. see the interactive lunar map.
Instructions:
- Start the telescope
- Connect the CCD camera
- Cool and focus the camera
- Take images of a chosen part of the Moon
- Data reduction of the images
Report: The report shall document the observations, the calculations, and the estimates. Furthermore, discuss the possible deviations to literature values (crater diameters) and the accuracy of this method in detail.
C4: Jupiter and its moons (CCD camera)
Aim: Observe and identify the large moons of Jupiter
Method: Observe Jupiter and its moons with the STF-8300 camera or the DSLR. With a series of exposures changes in the positions can be noticed even in relatively small time differences.
Instructions: Point the telescope towards Jupiter that can easily be found during winter and spring. The Galilean moons (Galileo Galilei discovered them around 1610) are easily seen. Some are larger than the Earth's moon and even larger than Mercury. Identify these four moons. Identify these four moons and document the run of the moons by means of a series of exposures. In case Jupiter is not observable, alternatively the Saturn (Lord of the Rings) and its moons can be observed.
Report: The individual images shall be color-inverted (black moons on white background). The moons in these images shall be identified. Put particular attention to the temporal changes in their position and the velocities of the moons (e.g. compare with Stellarium). In case the weather conditions allow good images of Jupiter itself, discuss visible surface structures of the planet, too.
Note: If only a small number of images could be taken at the time of observations, it can be repeated a few days later. The current positions of the Galilean moons can e.g. be seen in this image. A more detailed analysis can be performed by use of Stellarium.
C5: Lunar mountains
Aim: Estimate the height of some mountains on the lunar surface by imaging the lunar terminator.
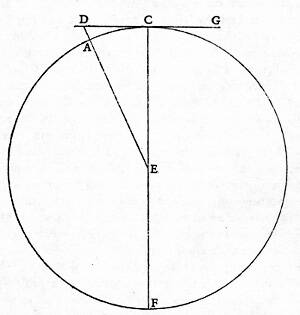
Method: Viewing through a telescope at the lunar terminator (the border between illuminated and dark part of the Moon), sometimes bright spots can seen on the dark side. They arise from high mountains on the Moon, whose peaks are still illuminated by the sunlight. Galileo was the first to estimate the height of these mountains.
Instructions: The drawing below is taken from Galilei's book “Sidereus Nuncius” (Latin: Sidereal Messenger) from 1610. You can get all required estimates from it (Pythagoras). The illuminated mountain peak is at point D, the terminator is at C. In this drawing the sunlight is incident from the right side. Determine the required distances to the Moon and the scale of the Moon on your images. The diameter of the Moon (distance between point C and F) is 3476 km (2160 miles). The visibility (position) of the terminator can be checked with the Lunar calender.
Report: The report shall document the observations. At least two mountains shall be observed in this experiment and their heights shall be estimated. Furthermore, discuss the accuracy of the method and possible errors.
C6: Classification of galaxies
Aim: The aim of this laboratory course is to learn the morphological properties of galaxies and to classify them with help of the Hubble sequence.
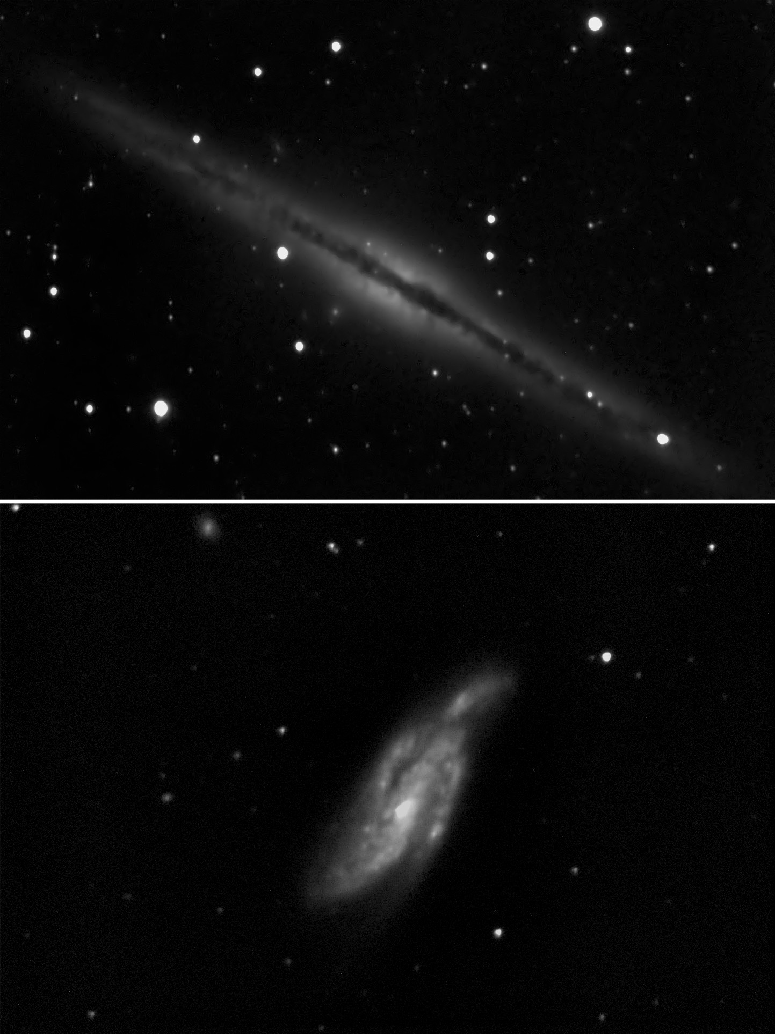
Method: Observe five nearby galaxies with the CCD camera (STF-8300) and reduce the data. Discuss the appearance of these galaxies and classify them according to the Hubble sequence. Also research (e.g. with Simbad) which galaxies were observed.
Instructions:
- Bring some time – plan at least 45 minutes per target
- Observe the galaxies (the coordinates of the galaxies will be provided by the supervisors): Observe WITHOUT color filter. Vary exposure times as needed. Select a 3×3 binning. → Instructions
- Mind that calibration exposures (Darkframes and Flatfields) are needed, too. In case there are multiple exposures per object add them up to a master-image.
- The data reduction is done by the instructor, but the students can do that, too (choose as needed).
- Invert the image (black galaxies on white background).
- Analyze the form and structure of the galaxies and classify them according to the Hubble sequence.
Report:
- Summary of the observations (weather conditions, exposure times, number of exposures, etc.)
- Images of the observed galaxies (see note above)
- Short description of the observed characteristics of the selected galaxies
- Short description of the Hubble sequence
- Classification of the observed galaxies
- Possible identification of these galaxies (add further images from the internet to support the identification, if needed)
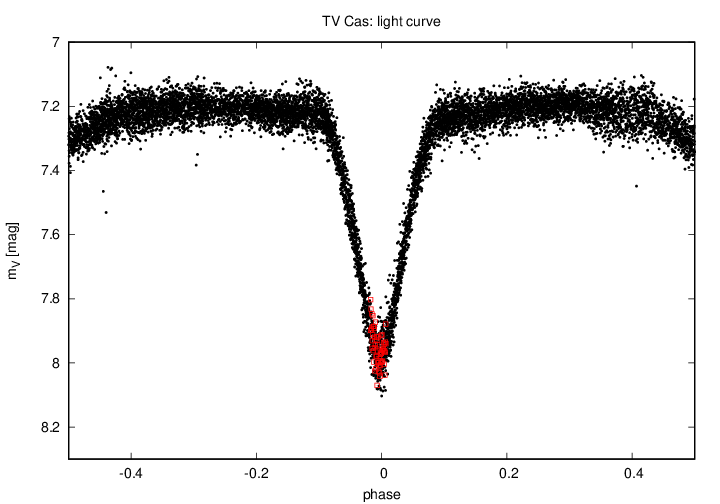
C7: Light curve of an eclipsing binary star
Aim: Acquisition of a light curve of an eclipsing binary star.
Method: Obtain exposures of an eclipsing binary star of the Algol type with the STF-8300 (CCD camera). Potential binary stars are RZ Cas, U Sge, or U Cep. These objects have photometric periods of a few days and brightness variations of more than one magnitude. By means of a series of exposures, the apparent brightness is measured over a time span of a few hours.
| object | period [days] | $\Delta M_\mathrm{V}$ [mag] |
|---|---|---|
| RZ Cas | 1.195247 | 1.5 |
| AI Dra | 1.19881 | 1.1 |
| U Sge | 3.38061933 | 2.8 |
| U Cep | 2.4930475 | 2.5 |
| TV Cas | 1.81259 | 1.0 |
| HS 0705+6700 | 0.0956 | 1.0 |
| … | - | - |
Instructions: First find a suitable minimum of your target, e.g. via this site. At the date of the observation, connect the STF-8300 to the telescope and point it to your target. Afterwards, use the computer to take a series of observations (as long as possible). The data reduction can be performed in collaboration with the supervisors.
Report: The report should include a short description of eclipsing binary stars, a summary of the observation (setup and execution), and the description and discussion of the obtained light curve. Last but not least, discuss the errors, too.
C8: The Sun in H$\alpha$ (experimental )
Security advice: This experiment is not performed with the OST. NEVER point the OST to the Sun! This can permanently damage the OST and the instruments. Observations of the Sun can and may only be performed with intact sun filters, which are only available for our mobile telescopes. In any case, an instructor needs to be present before the telescope is pointed to the Sun.
Aim: The sun and especially its activity phenomena in the H$\alpha$ light shall be observed and characterized. The Sun's H$\alpha$ emission comes from its chromosphere and thus allows us to study the upper solar atmosphere. With the help of this experiment, the solar atmosphere is to be examined in more detail and the knowledge about which radiation is emitted in which layers is deepened. You will also learn how to use the mobile telescopes.
Method: A dedicated H$\alpha$ telescope is available for this experiment, which allows the sun to be observed in a very narrow band (<5Å). The filter (actually a combination of two etalons) is tunable so that the Doppler shift of moving structures can be compensated and these structures can be made visible. First the telescope is pointed at the sun and then the focus is adjusted. The contrast is then set using the rear etalon so that the features that you want to photograph are visible. Then the brightness can be adjusted and the contrast optimized using the front etalon. A small series of images can then be taken in order to achieve the best possible result according to the lucky imaging principle.
Instructions:
- Setting up the mobile mount Celestron Advanced GT
- Mounting of the H$\alpha$ telescope
- Attachment of the CCD camera and establishment of the connection to the laptop
- Orientation towards the sun and taking of the images
- Pre-checking the images on the laptop, if necessary take additional images
Report: A brief description of the structure of the solar atmosphere should be followed by an explanation of the functional principle of the H$\alpha$ telescope. Then it should be discussed which activity phenomena can in principle be visible and why these are particularly evident in the H$\alpha$ light. This can then be illustrated and discussed using the recordings obtained.
